
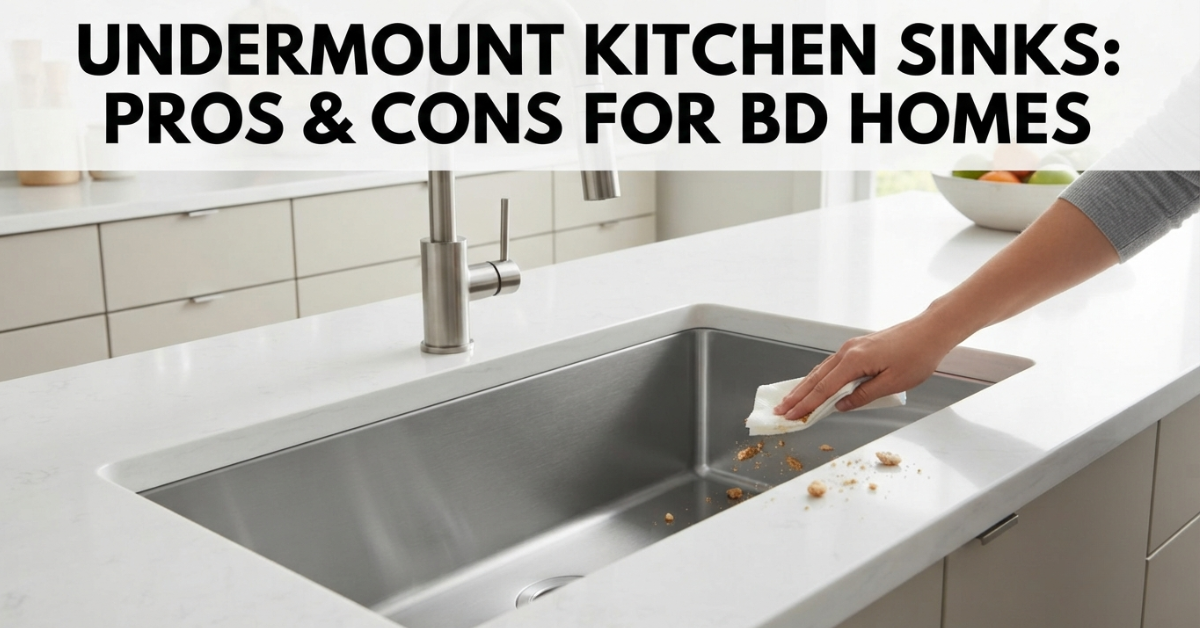
An Undermount Kitchen Sink Pros and Cons, sink attaches directly beneath your countertop, creating a continuous, rimless surface that simplifies daily cleanup and delivers a sleek, modern aesthetic.
While undermount sinks eliminate dirt-trapping rims and maximize usable counter space, they require rigid waterproof cabinetry, expert installation, and higher upfront material costs compared to traditional top-mount basins.
Core Breakdown: Undermount vs. Top-Mount Kitchen Sinks
Key Takeaway: Choosing between an undermount and top-mount sink comes down to your budget, countertop material, and preferred cleaning routine.
Undermount sinks prioritize seamless hygiene and modern aesthetics, while top-mount sinks offer lower installation costs and flexible counter compatibility.
Key Feature Comparison
- Rim Profile & Cleanliness
- Undermount Sink: Zero exposed rim on top of the counter. You can sweep breadcrumbs, chopped vegetable scraps, and spills directly into the basin with a single wipe.
- Top-Mount Sink: Features an exposed outer rim (lip) resting on top of the counter. Food particles and grease tend to accumulate around the silicone seal edge over time.
- Countertop Compatibility
- Undermount Sink: Requires solid granite, quartz, or stone tops for edge support. Avoid particle board or laminate.
- Top-Mount Sink: Works with virtually any countertop material, including low-cost laminate, wood butcher block, and marble tiles, because the top lip covers the raw cut edge.
- Installation Mechanics
- Undermount Sink: Installed from below using heavy-duty epoxy, undermount support clips, and mechanical cabinet bracing to prevent sag under a full basin of water.
- Top-Mount Sink: Dropped into a pre-cut hole from above and sealed with silicone. Simple enough for basic DIY or general contractor installation.
- Usable Countertop Real Estate
- Undermount Sink: Frees 1–2 inches of counter space around the bowl, giving more room for boards, spices, and prep.
- Top-Mount Sink: The perimeter rim consumes active counter surface, slightly reducing prep area in compact urban kitchen layouts.
Detailed Advantages of Undermount Sinks for Modern Bangladeshi Homes
Undermount sinks have grown rapidly in popularity across urban apartment developments in Dhaka,
Chattogram, and Sylhet. Understanding their practical benefits helps determine if they fit your household cooking habits.
BENEFITS OF UNDERMOUNT KITCHEN SINKS PROS AND CONS |
| 1. Effortless Cleanup -> Sweep scraps directly into basin with no lip barrier |
| 2. Enhanced Hygiene -> Eliminates damp crevices where mold & bacteria grow |
| 3. Expanded Counter Space -> Unlocks 1-2 inches of extra rimless prep space |
| 4. Premium Aesthetic -> Creates a seamless, high-end modular appearance |
| 5. Higher Property Value -> Boosts resale & rental appeal for urban apartments |
1. Seamless Counter Top Hygiene and Fast Scraping
Undermount sinks eliminate raised edges, letting you wipe turmeric, rice, and wet debris straight into the bowl. Cuts cleanup time up to 50%.
2. Elimination of Dirt and Mold Traps
The seam where a top-mount sink meets a laminate counter is notorious for harboring dark mold, mildew, and stubborn grease build-up in high-humidity climates.
Because the mounting joint of an undermount sink is hidden underneath the solid stone overhang, the top surface stays completely dry and exposed to light, dramatically improving overall kitchen sanitation.
3. Sleek Visual Appeal in Modular Kitchen Layouts
If you are investing in modern handleless cabinetry, high-gloss acrylic finishes, or integrated appliance layouts, a top-mount sink lip disrupts the continuous horizontal line of your worktops.
An undermount sink maintains a clean, architectural profile that highlights the natural pattern of granite or engineered quartz slabs.
4. Maximized Counter Space in Compact Apartments
Space is at a premium in typical 1,200 to 1,800 square foot urban apartments. Every inch of counter space matters when managing prep bowls, rice cookers, and wet dish drying racks.
By recessed mounting, you gain clear prep space right up to the edge of the sink bowl opening.
To maximize this area further, install a heavy-duty dish holder right over or beside your sink basin to dry cookware efficiently without cluttering counter surfaces.
Drawbacks and Challenges of Undermount Kitchen Sinks
Despite their clear operational advantages, undermount sinks present specific challenges that homeowners must prepare for before making a purchasing decision.
1. Higher Overall Upfront Cost
An undermount sink system requires a larger financial commitment than a drop-in setup. The costs break down into three areas:
- The Sink Unit: High-grade 16-gauge or 18-gauge stainless steel undermount bowls cost more due to reinforced rim construction and sound-dampening undercoating.
- Stone Fabrication: Granite or quartz fabricators charge extra for cutting, grinding, beveling, and polishing the inner exposed rim hole.
- Cabinet Preparation: Reinforcing the under-sink module with moisture-proof materials and structural framing adds material costs.
2. Strict Countertop Material Requirements
You cannot install an undermount sink on standard particle board, MDF, or post-formed laminate counters.
Water splashing over the rim edge will enter the exposed inner wood core, causing rapid swelling, rotting, and structural collapse within months.
You must pair an undermount sink with solid water-impermeable materials:
- Natural Granite Slabs (20mm thickness recommended)
- Engineered Quartz Worktops
- Solid Marble or Porous Stone (when fully sealed with hydrophobic sealants)
- Concrete Countertop Slabs
3. Complex Installation and Risk of Seam Separation
Heavy sinks need strong mechanical clips and epoxy. Poor installation risks sealant failure, cabinet water leaks, or total sink detachment.
4. Rim Chipping Risks Around Natural Stone Edges
Because the inner edge of the solid stone counter is fully exposed around the sink opening, dropping heavy cast-iron pots, brass koraies, or heavy granite pestles against the edge can chip the stone cut line.
Choosing a slightly rounded (radius/bullnose) edge profile during stone fabrication helps mitigate this risk.
Critical Cabinet Support & Material Requirements
Installing an undermount sink successfully depends heavily on what sits underneath it.
The sink cabinet must sustain constant downward weight, localized moisture exposure, and daily vibration from garbage disposals or heavy dishwashing routines.
Choosing the Right Under-Sink Cabinet Material
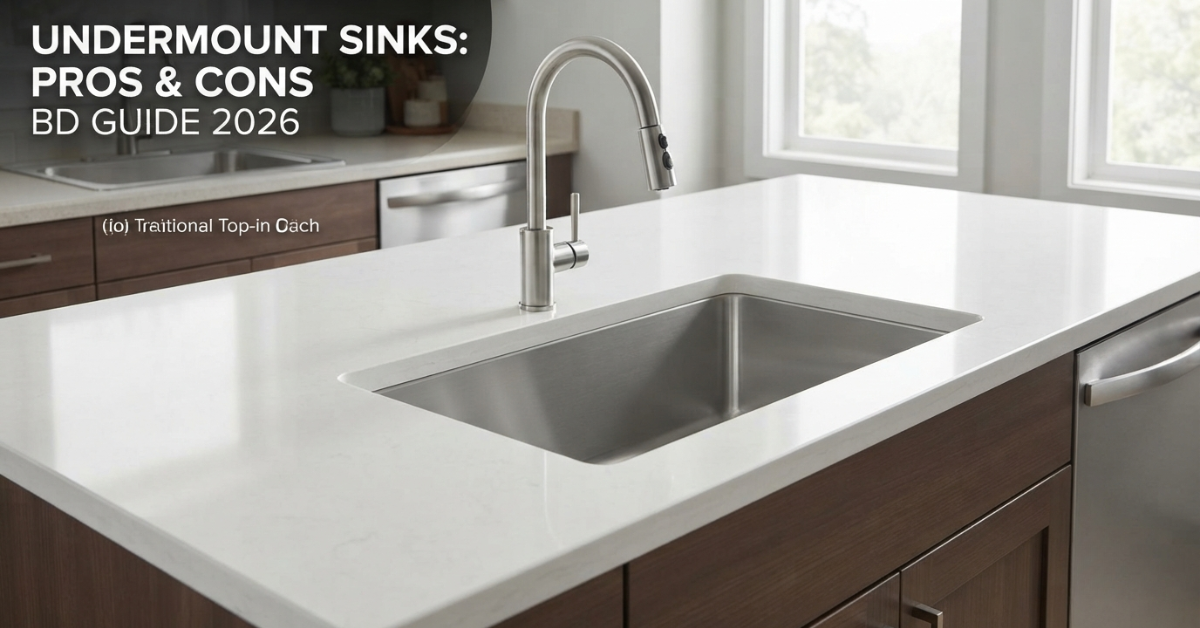
Water leaks happen—whether from a loose p-trap joint, a dripping faucet thread, or condensation off cold water lines.
Your under-sink cabinet frame must withstand high moisture environments without degrading.
| CABINET MATERIAL MOISTURE RESISTANCE SCORECARD |
| Material Type | Water Resistance | Termite Proof | Load Capacity | Grade |
| Commercial Particle | Poor (Swells) | Low | Low | Avoid |
| Standard MDF | Moderate-Low | Low | Moderate | Caution |
| HMR (Moisture Board) | High | Moderate | High | Good |
| Marine-Grade Plywood | Very High | High | Very High | Excellent|
| 100% Solid PVC Board | Perfect (100%) | 100% Immune | Moderate-High | Best |
Pro Tip: Combine a 100% PVC board structure for the immediate under-sink cabinet base with Marine-Grade Plywood for adjacent drawer units.
This hybrid approach gives you absolute leak immunity beneath wet plumbing zones while maintaining maximum structural stiffness for heavy stone counter loads.
Essential Hardware and Structural Accessories
A solid cabinet shell is only half the equation; the inner hardware determines how well your kitchen withstands years of heavy daily use.
- Heavy-Duty Soft-Close Hinges: Wet towels cause rust. Use stainless steel, hydraulic soft-close hinges built for high humidity.
- Full-Extension Drawer Runners: Heavy-duty undermount slides rated for 35–50kg keep deep sink drawers running smoothly under heavy loads.
- Pull-Out Under-Sink Organizers:Pull-out racks and sliding drawers maximize under-sink space, keeping cleaning supplies dry and tidy.
- Waterproof Drip Trays:Line cabinet bases with removable plastic or aluminum pans to catch pipe leaks and protect wood.
Step-by-Step Undermount Sink Installation Guidelines
To ensure your undermount sink never sags, leaks, or separates from your granite worktop, follow this structural installation sequence during your kitchen fit-out.
1.Measure Opening and Cut Granite Slab:Precision Fabrication.
Fabricate the stone counter using the exact template provided by the sink manufacturer. Ensure the inner exposed stone edges are ground smooth, chamfered, and fully polished.
2.Build Lower Support Harness:Build a solid wood cradle or metal cross-bars inside the cabinet. Never rely on glue alone.
3.Dry-Fit Sink and Check Plumb Lines:Place the sink on support bars and use shims until the rim sits level with the cabinet top edge.
4.Apply Silicone and Adhesive Compound:Clean the sink flange and stone with alcohol. Apply a thick, continuous bead of sanitary silicone.
5.Lower Countertop and Anchor Mechanical Clips:Lower the stone onto the frame, fasten clips into brass inserts, and wipe squeezed silicone.
Practical Storage Solutions Around Your Sink Area
An undermount sink frees up upper counter space, opening opportunities to build an efficient vertical workflow around your primary wet zone.
| OPTIMAL WET-ZONE WORKFLOW LAYOUT |
| Upper Wall Zone -> Wall-mounted dish drying racks with drip trays |
| Counter Surface -> Rimless undermount sink + sleek deck-mounted mixer faucet |
| Cabinet Base -> Pull-out trash bins, detergent racks & pan baskets |
| Corner Zones -> Corner carousel units for heavy cooking vessels |
1. Wall-Mounted Spice and Dish Holders
Keeping item surfaces off the main stone counter maintains a clean, open look.
Installing a dedicated wall-mounted rack directly above the sink allows washed bowls and glasses to drip-dry directly into the basin.
To organize seasoning bottles near your cooking zone without cluttering the sink area, consider an accessible spice paper rack mounted neatly on adjacent tile walls.
2. Under-Sink Refuse & Waste Management
Because an undermount Undermount Kitchen Sink Pros and Cons sits slightly lower inside the cabinet box than a top-mount model, measure plumbing lines carefully before selecting waste bins.
Installing dual pull-out waste bins mounted on soft-close drawer slides keeps organic waste concealed, preventing odor buildup during humid weather.
3. Smart Corner Storage Integration
Wet zones are frequently positioned near kitchen corners in L-shaped and U-shaped layouts.
Make full use of hard-to-reach lower corner space beside your under-sink cabinet by incorporating a sliding magic corner system.
This pulls deep cookware forward smoothly without requiring you to kneel or reach into dark cabinet recesses.
Real-World Maintenance & Care Rules
Keeping an undermount sink and its surrounding counter pristine requires simple but consistent habits tailored to local water and cooking conditions.
Warning: Never use acid-based tile cleaners or strong bleach solutions near the exposed silicone seam of an undermount sink. Harsh chemicals degrade neutral-cure silicone over time, creating micro-gaps where water can seep into lower cabinet wood.
- Daily Seam Wiping: Wipe the hidden corner seam between the underside of the stone and the top edge of the stainless steel bowl with a dry cloth at the end of every evening.
- Handling Hard Water Staining: Clean weekly with mild dish liquid and warm water, then dry thoroughly to prevent hard water crusts.
- Managing Heavy Pans: Use silicone sink mats to protect stainless steel bases and keep heavy pans from chipping stone edges.
- Silicone Maintenance: Inspect silicone every 18–24 months. Scrape, sanitize, and reapply fresh sealant if peeling appears.
Summary of Pros and Cons
- The Pros: Unmatched counter hygiene, effortless wiping without rim obstacles, modern architectural appearance, expanded counter space, and boosted home resale value.
- The Cons: Requires solid stone worktops, higher initial purchase and fabrication costs, professional installation requirements, and risk of stone rim chipping under rough handling.
Next Steps & Resource Directories
Browse Full Directories
Related Products & Guides
- Small Pantry Cabinets | Kitchen Pantry Storage
- Pantry Pull Out Unit for Smart Kitchen Storage Solutions!!
- Best Stainless Steel Dish Drying Rack for Modern Kitchen
- Smart Pantry Cabinet Organizer Storage for Modern Kitchens
